In ClickHelp, there are several ways to add a new font to your projects. We will look at two of them:
- Adding a font using Google Fonts
- Adding a custom font
Adding a font using Google Fonts
- Go to the Google Fonts site and select the font you want to use in your projects.
-
On the font page, click Select this style to add the style to the list of your selected font families.


Note You can pick multiple fonts in this manner. -
Click View your selected families in the top-right corner of the screen.
-
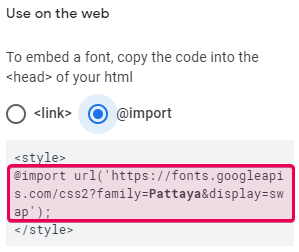
On the right side of the screen, the Selected family panel will open. In the Use on the web section, select the @import option and copy the CSS rule, without the <style> opening and closing tags..
-
Go to the Basic Settings page of the project you want to add the font to and paste the copied code to the beginning of the project CSS file.
Note If you need to use this font outside of your project topics, in your branding styles (like Home page font, etc.), you will also need to paste the same code into your Portal Branding CSS file. - To apply the new font to the desired element, take the CSS rule from the Use on the web section of the Selected family panel of the Google Fonts site and add it to the corresponding selector in your CSS file, for example:CSS
body
{
  font-family: 'Pattaya', sans-serif;
}
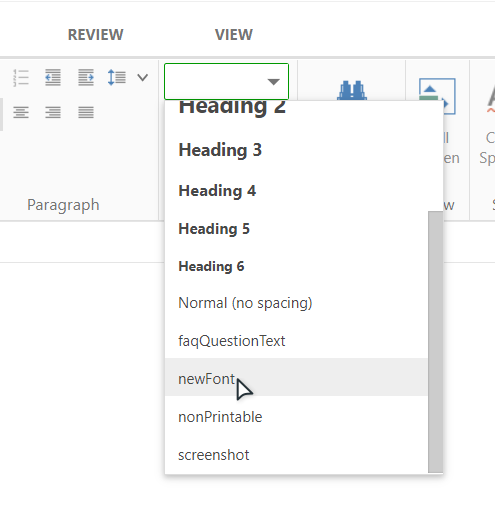
Alternatively, you can add the CSS class selector with the same CSS rule to the project CSS file and then apply the new class to desired elements:CSS.newFont {
font-family: 'Pattaya', sans-serif;
}
Adding a font from your computer
To learn how to add a new font to your projects from your computer, read the following topic from ClickHelp User Manual: Using Your Own Fonts.