Since you can add various content to all topics of a project by using the project's Topic Master Page settings, there's an easy way to insert the Previous Topic and Next Topic navigation elements into all project topics.
Here's how you can do it:
- Go to the Settings of a project and select Topic Template → Topic Master Page from the left menu.
-
Uncheck the Use parent level settings checkbox.
-
Paste the HTML markup of navigation elements to the Topic header HTML or Topic footer HTML fields, depending on where you want the elements to be appended.

The default Next/Previous navigation elements code is the following:
HTML<ch:nav type="next" text="Next" class="" caption=""/>
<ch:nav type="previous" text="Previous" class="" caption=""/>
Tip You can get the markup you need by inserting the navigation elements into the topic's body, configuring them to your liking, and then switching to the Source View mode to get the code. - Click Save Changes.
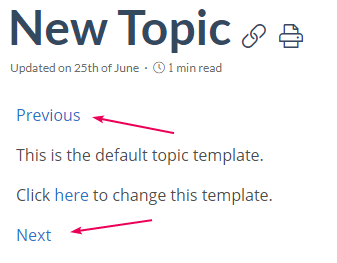
After doing so, you will get this at the beginning and end of all topics in a project except the first and the last topics because they don’t have the previous and next topics, respectively:
If you want to display the navigation elements in a single line on the opposite sides of the page, use the following HTML markup either in the Topic header HTML or Topic footer HTML field:
HTML |
<div style="width: 100%; display: flex; justify-content: space-between;"> |