|
|
Important |
| When using SSO, you need to create user accounts in ClickHelp for each SSO user that authenticates with a 3rd-party service. This is required so ClickHelp can apply specific permissions to the authenticated user, and those permissions are configured in a ClickHelp user profile. You can use ClickHelp REST API to bulk-create users or to create a new ClickHelp user every time a new application user is getting created on your end. | |
The Azure SSO provider allows users to log into a ClickHelp portal using their Microsoft Entra ID accounts. It is possible to make the portal a single-tenant application and allow only users from a specific Microsoft Entra ID to log in to the portal. Alternatively, you can make the portal multi-tenant and work with users from any Microsoft Entra ID tenants.
Only Microsoft Entra ID (Work or School) accounts are supported. Microsoft (personal) accounts are not supported.
-
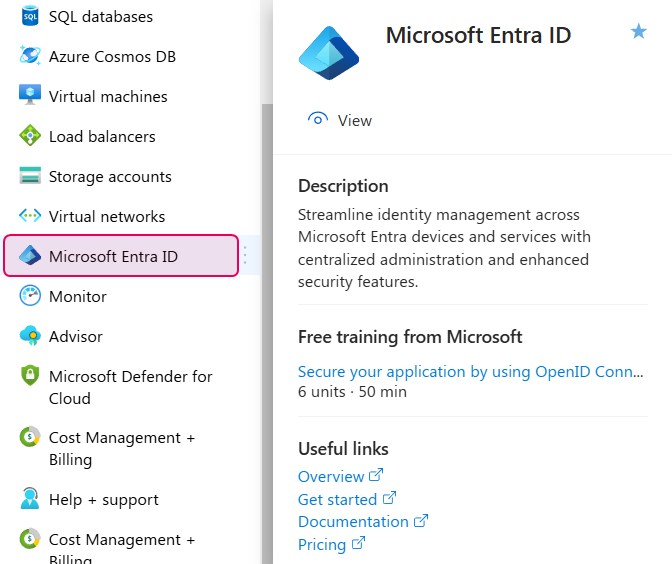
Open the Azure portal, go to Microsoft Entra ID.
-
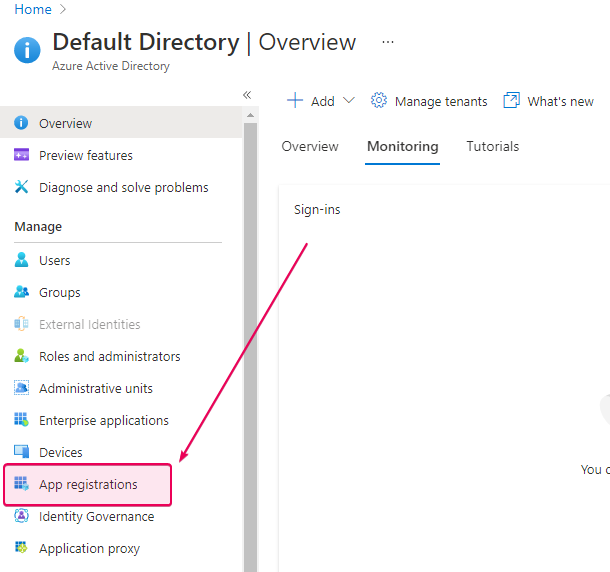
Click App registrations under the Manage section.
-
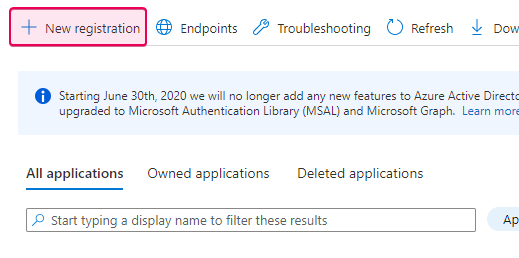
Click the New registration link.
-
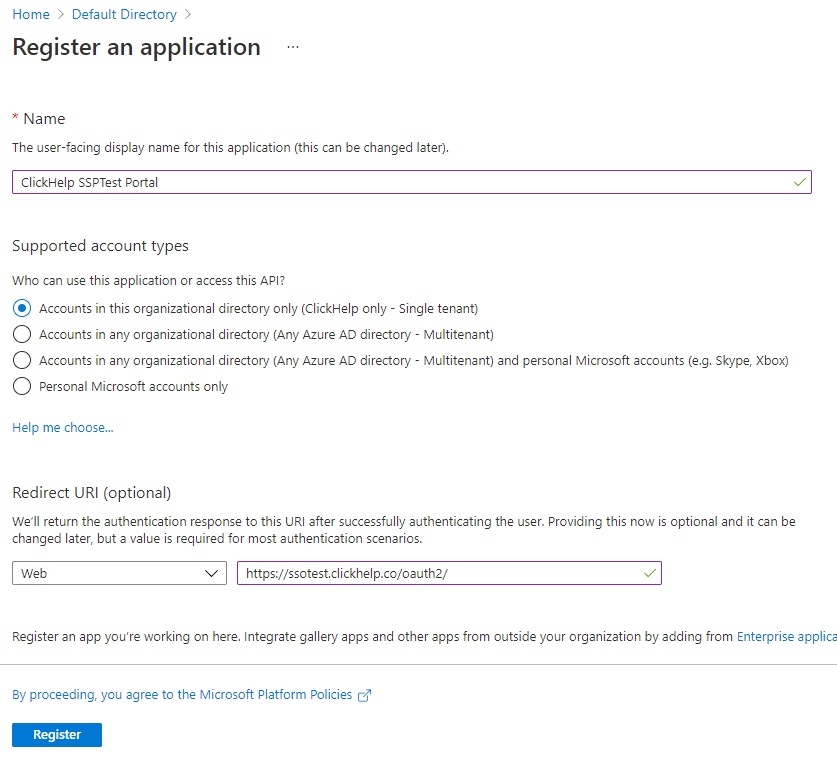
On the Register an application screen, specify the application name,
desired access type (single or multi-tenant), application type (select
Web), and the redirect URL (https://<YOU_PORTAL_NAME>.clickhelp.co/oauth2/). Click Register to proceed.
-
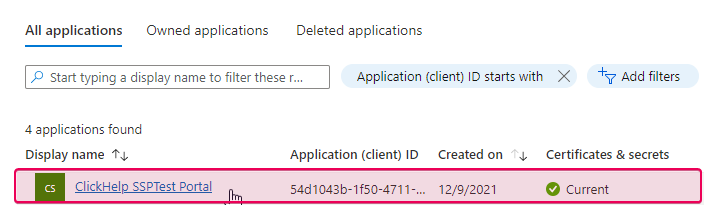
The application is added. Now, we need to get some details about it. If the
application widget is not opened automatically, click the application name
on the App Registrations screen.
-
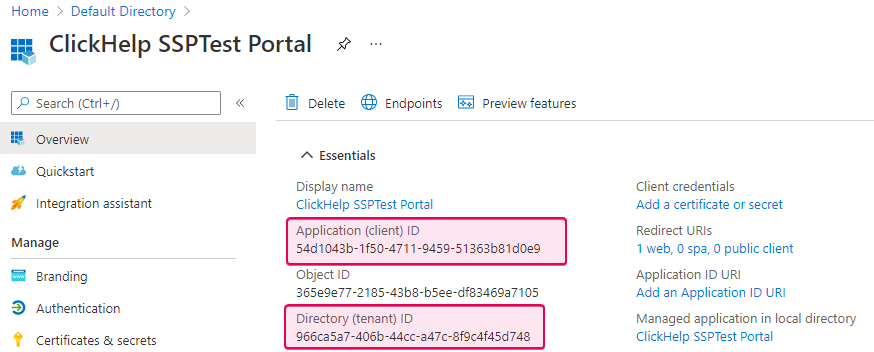
Find the Application (client) ID and
Directory (tenant) ID fields in the application widget. The value of
the first field is the Client ID needed to set up the OpenID Connect
provider in ClickHelp, and the second value is the Tenant ID that we
will need. Copy the values somewhere to use them later.
-
Click Certificates & secrets under the Manage section, then New client secret, and
specify a name for a new client secret in the Description field. Select the desired duration for the
secret and click Add to generate the value. Copy the generated value and save it somewhere — this is the new application’s client secret.
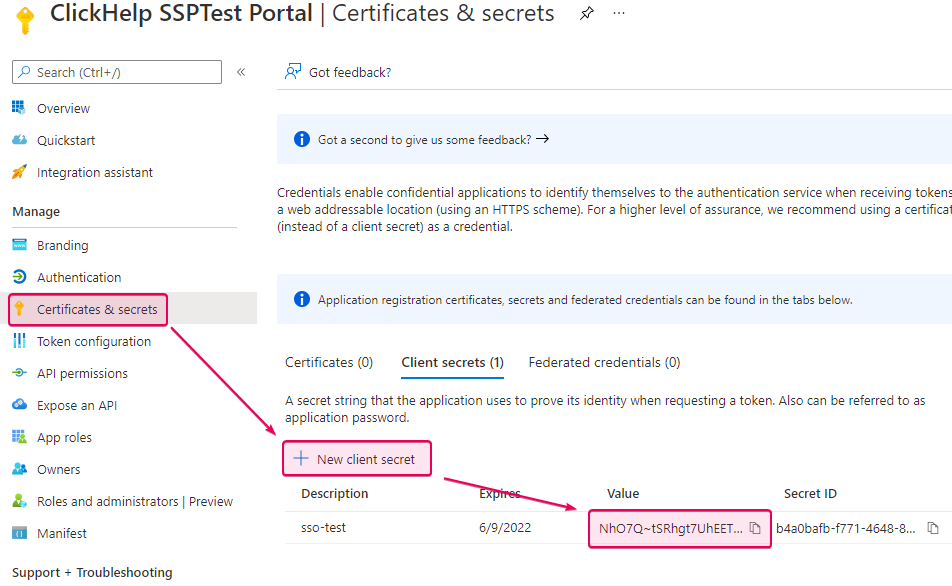

Important This is the only time you can see the client secret in the Azure portal.
-
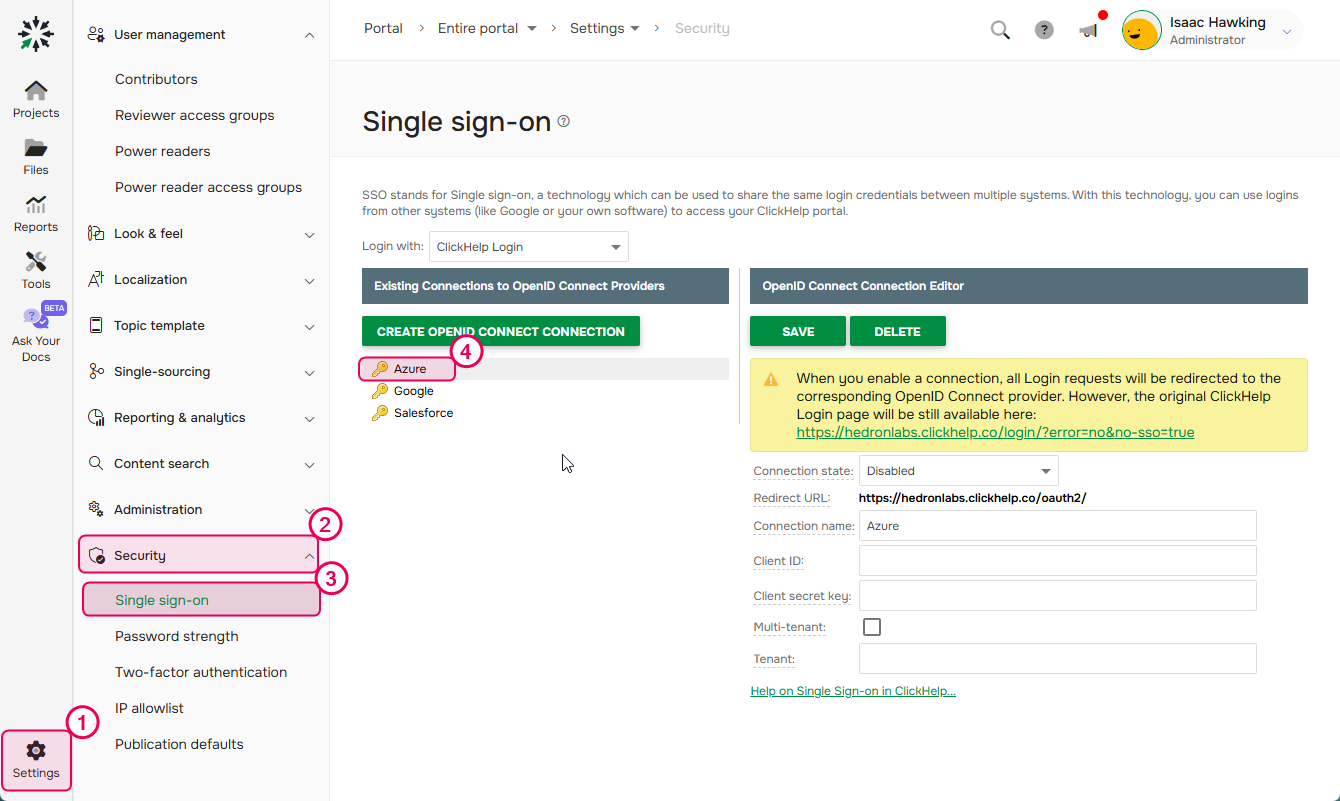
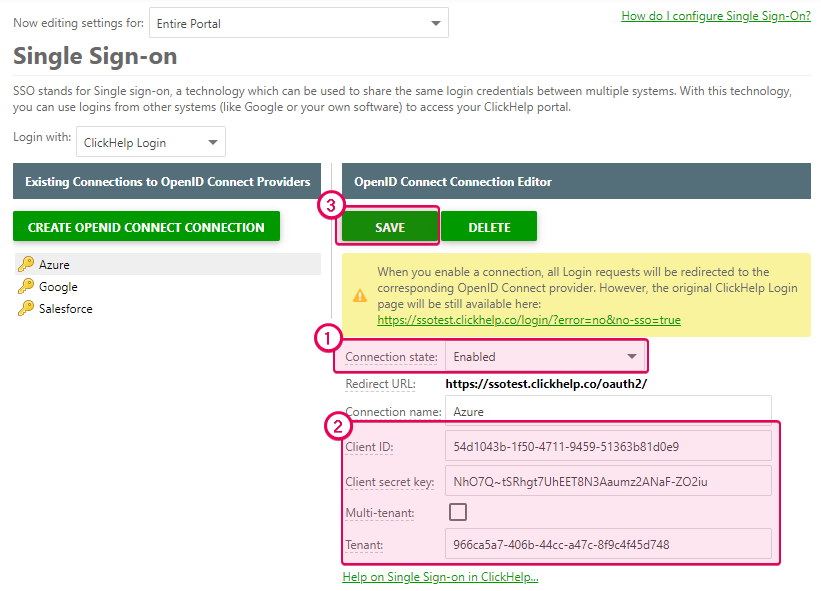
Now open the Single Sign-on settings page in your ClickHelp portal by
going to Settings → Security → Single sign-on. And select the Azure provider in the list.
-
Populate the corresponding fields of the Azure client in
ClickHelp with the values from Azure. For example, use either the
Tenant ID or the domain name for the Tenant field. If you want to
make users from several tenants access your ClickHelp portal, check the
Multi-tenant box. Then, enable the connection and save
changes.
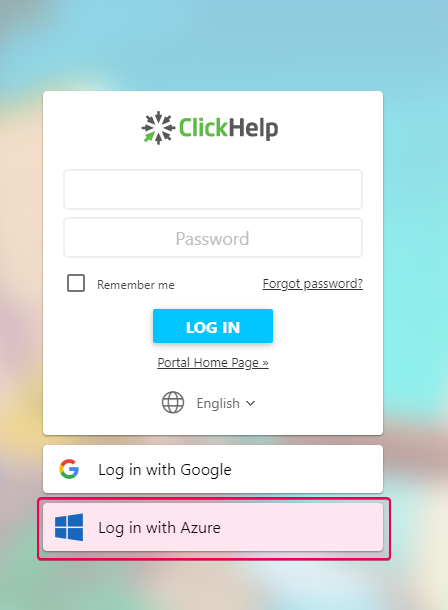
Now it is possible to log in to the portal using Microsoft Entra ID accounts. To make the portal log in the user, the email address of the Microsoft Entra ID account should be the same as the address of the corresponding ClickHelp account.
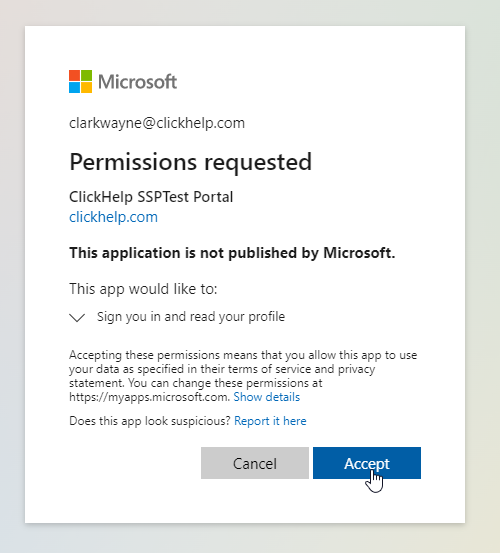
When logging in to the portal with the Microsoft Entra ID account for the first time, you will be prompted to accept the ClickHelp portal’s request for permissions to read the Microsoft Entra ID user profile.
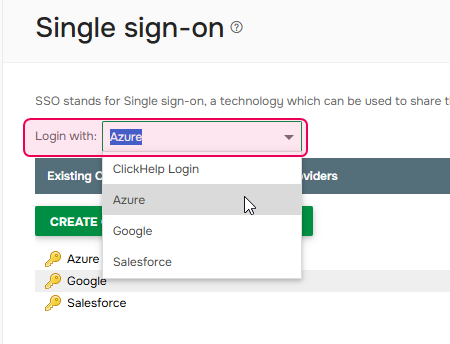
You can force users to log in using Microsoft Entra ID accounts by selecting the Azure connection in the Login with field:
Even if you specified Azure as the default login option, it is still possible to log in to a ClickHelp portal using its native credentials (ClickHelp user account, no SSO), you can do this by following the Login link with a special no-sso parameter: https://<YourPortalName>.clickhelp.co/login/?error=no&no-sso=true