ClickHelp provides Two-Factor Authentication (2FA) to enhance account security by requiring two distinct forms of verification: your password and a time-sensitive code from an authenticator app.
With 2FA enabled, you'll need to enter a code from Google Authenticator or Microsoft Authenticator, or another TOTP-compatible app such as Duo Mobile, Authy, or LastPass, along with your password to log in.
|
If you log into ClickHelp using SSO or login tokens, 2FA is not needed. |
- Licensing
- Global 2FA Settings
- Setting Up 2FA for a User Account
- Enabling 2FA
- Disabling 2FA
- Reset Connection
- Logging in with 2FA
- Handling Account Lockout
Licensing
This feature is available with the Enterprise security add-on for the Growth and Professional pricing plans.
Global 2FA Settings
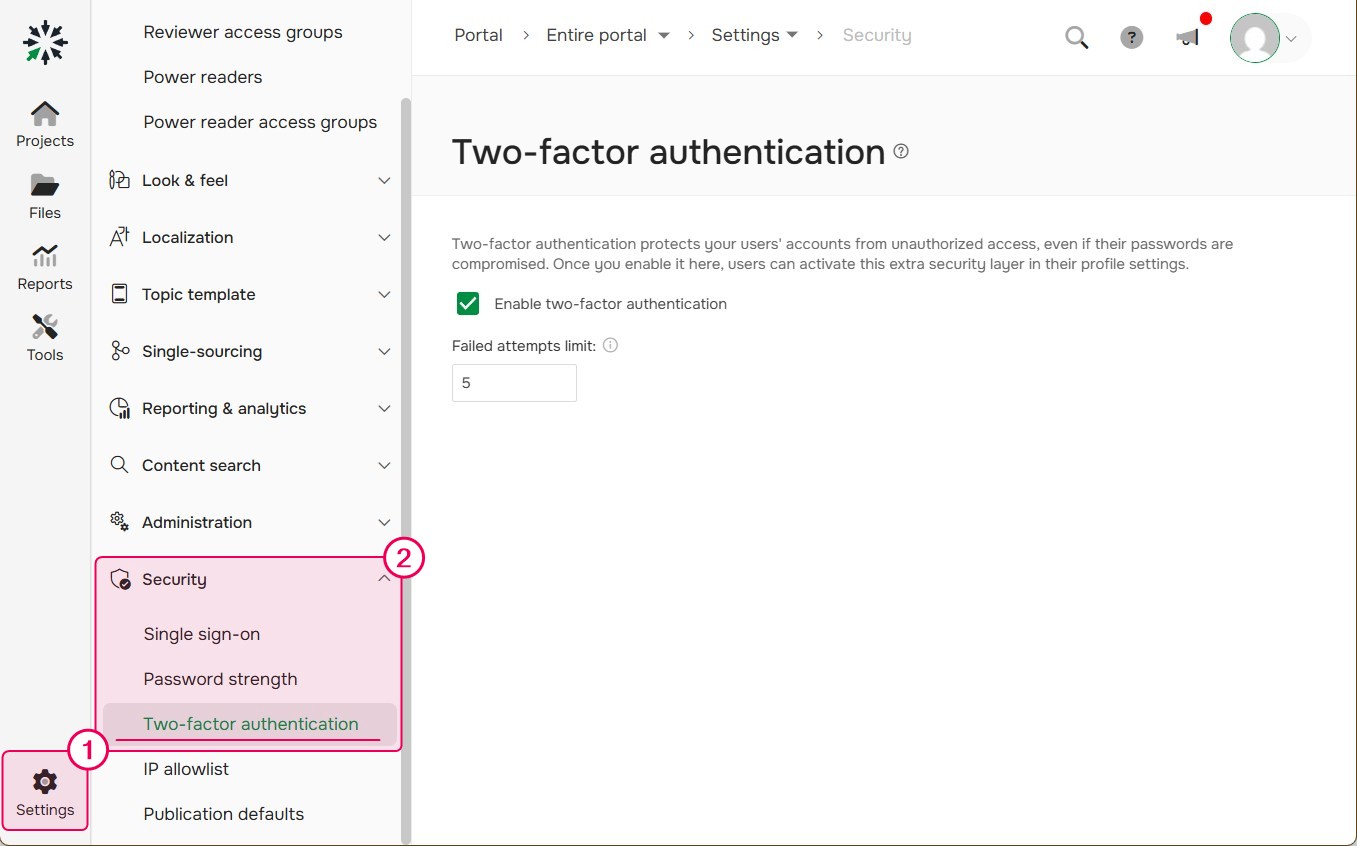
Admins can manage 2FA settings under Settings → Security → Two-factor authentication. Options include:
- Enable/disable 2FA for the entire portal (disabled by default).
- Set the max failed authentication attempts before an account is locked (default: 5).
| Admins should ensure that users store their backup codes securely. |
Two-factor authentication is available only to Contributor accounts. Power Readers cannot use two-factor authentication.
Setting Up 2FA for a User Account
Enabling 2FA
-
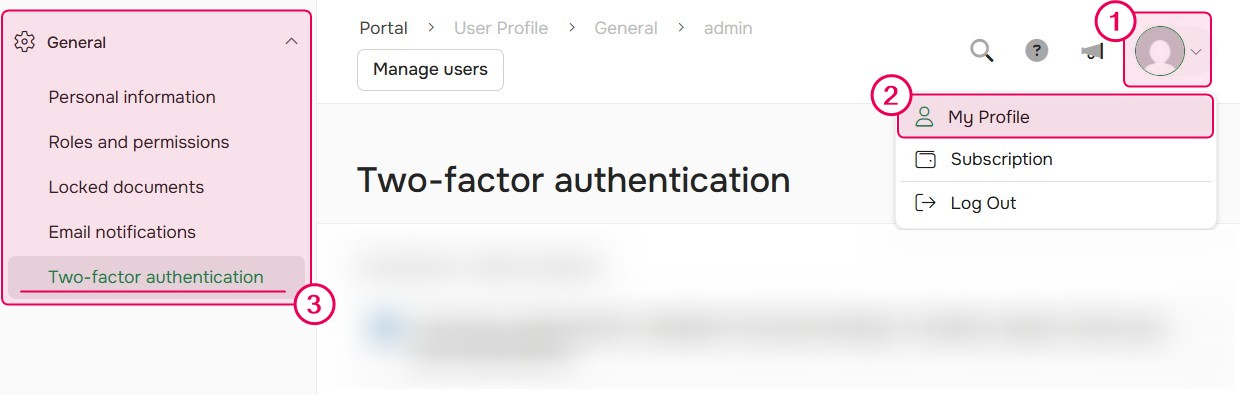
Click your profile icon and go to My Profile → General → Two-factor authentication.
- Open an authenticator app of choice (e.g., Google Authenticator, Microsoft Authenticator).
- Choose one of the following setup methods:
- Scan a QR code.
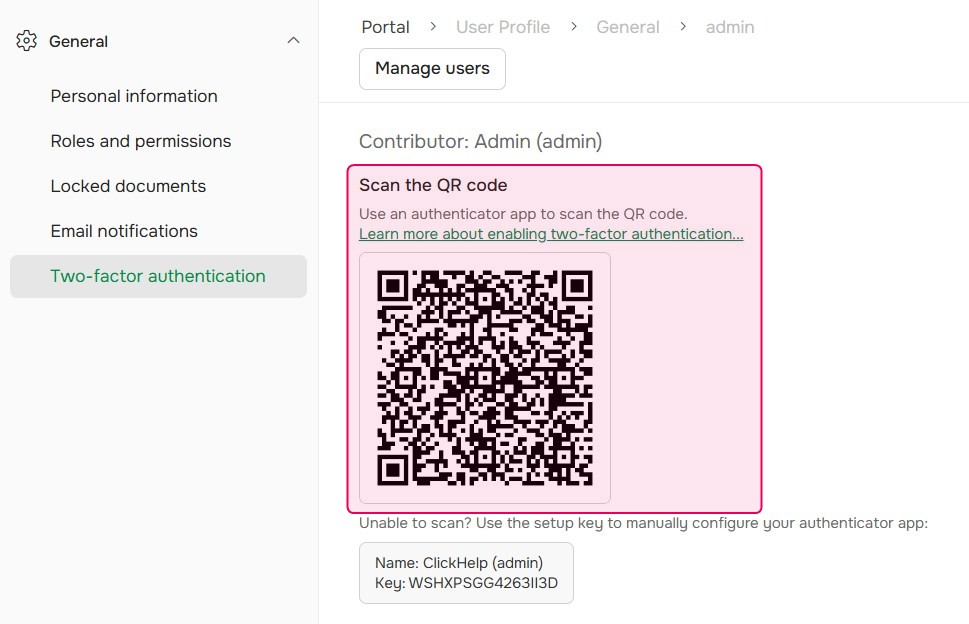
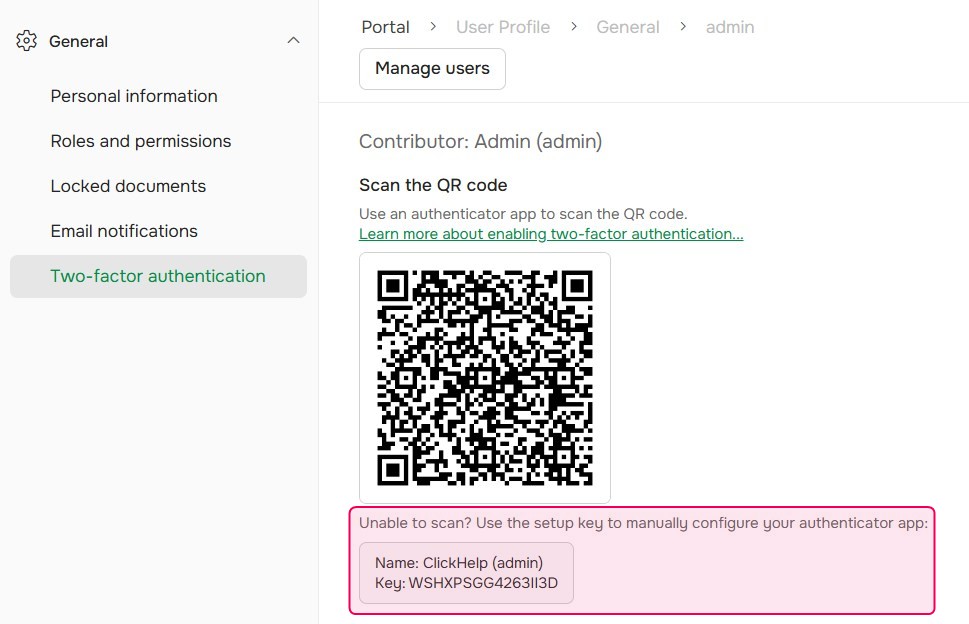
- Or Enter a setup key manually into your authenticator app.
- Scan a QR code.
- Copy the 6-digit code generated by the app.
- Paste or type it into the Enter authentication code field and click Enable 2FA.
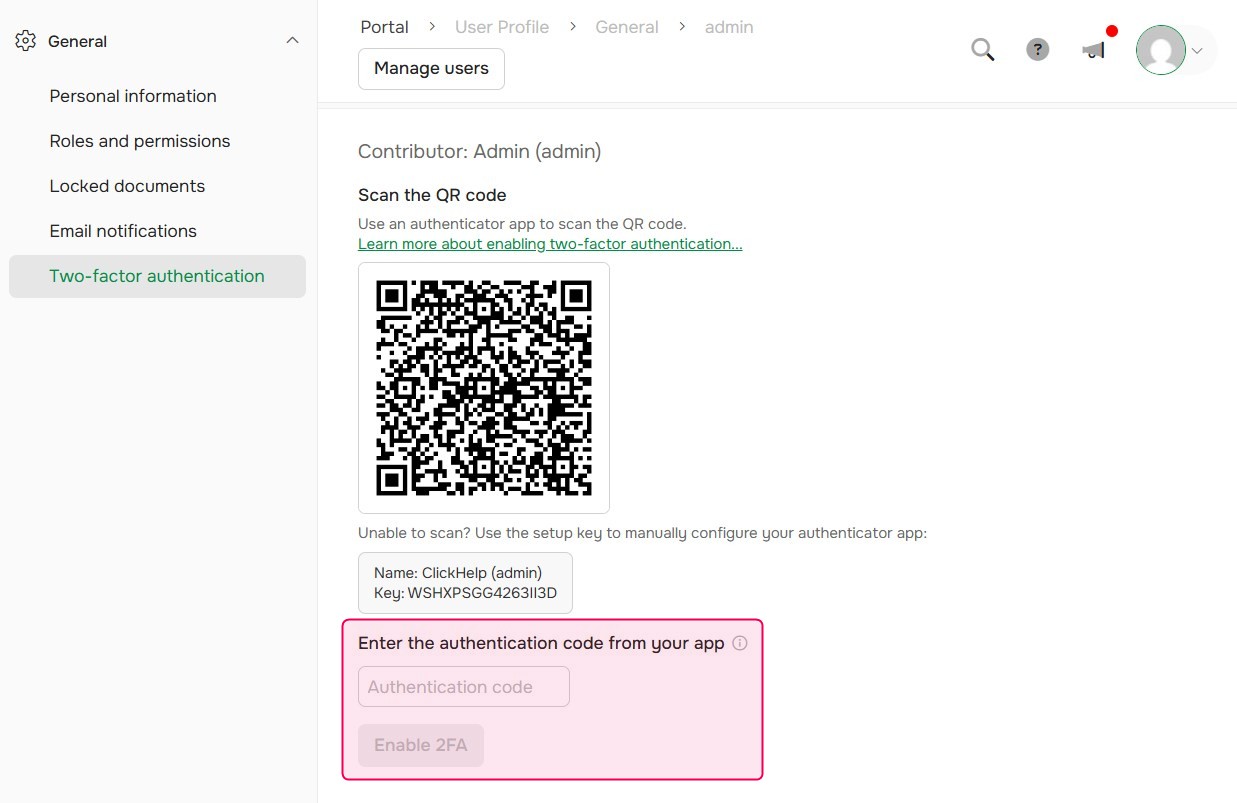
Success! 2FA is now enabled for your account.
| Only individual users can enable 2FA for their own accounts — administrators cannot enable 2FA on behalf of specific users. |
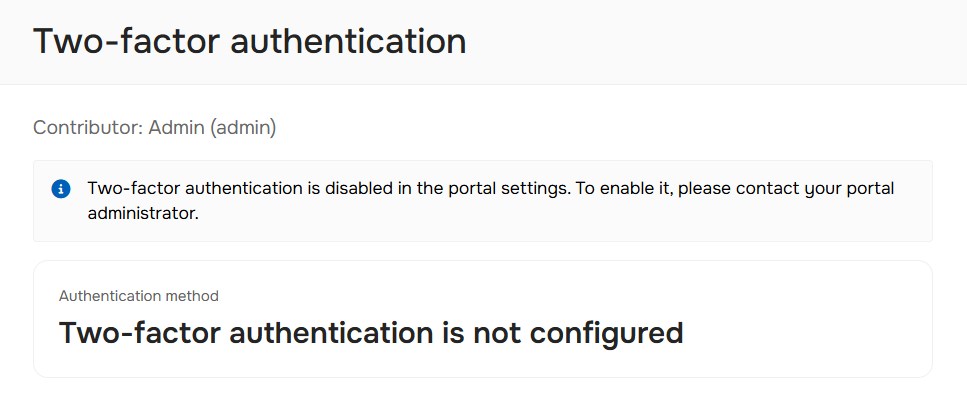
If 2FA is disabled globally, users will still see the 2FA setup option in their profiles, but they won’t be able to configure it. If 2FA was previously enabled and then disabled, any existing authentication codes will be ignored during login.
Disabling 2FA
- Click your profile icon and go to My Profile → General → Two-factor authentication.
- Click Disable 2FA.

- Click OK.
| Admins can forcibly disable 2FA for any user if needed (e.g., if a user loses access to their authenticator app). |
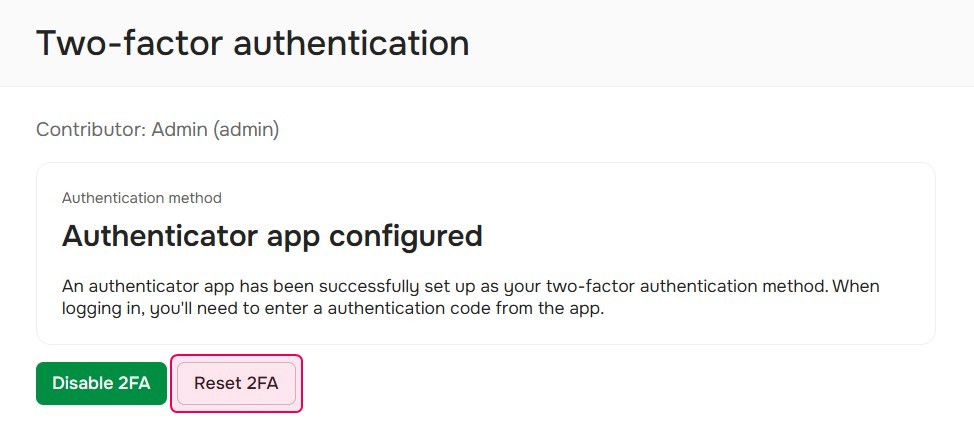
Reset Connection
- Click Reset 2FA to generate a new key.
- After resetting, the old key can't be accessed anymore.
- After resetting, the old key can't be accessed anymore.
- Set up 2FA again using the new key if needed.
Logging in with 2FA
If 2FA is enabled for a user:
- On the login page, enter your username and password.
Enter the code from your authenticator app to complete authentication.
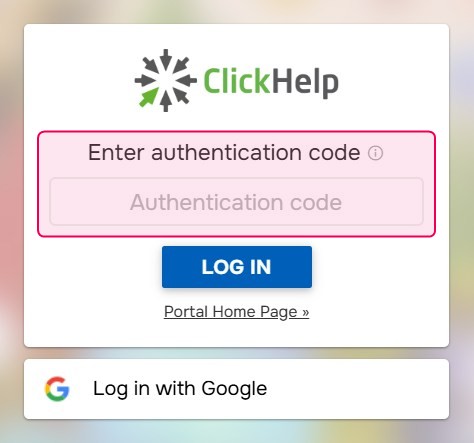
The system accepts authentication codes from the current, previous, and next 30-second window.
- You're logged in!
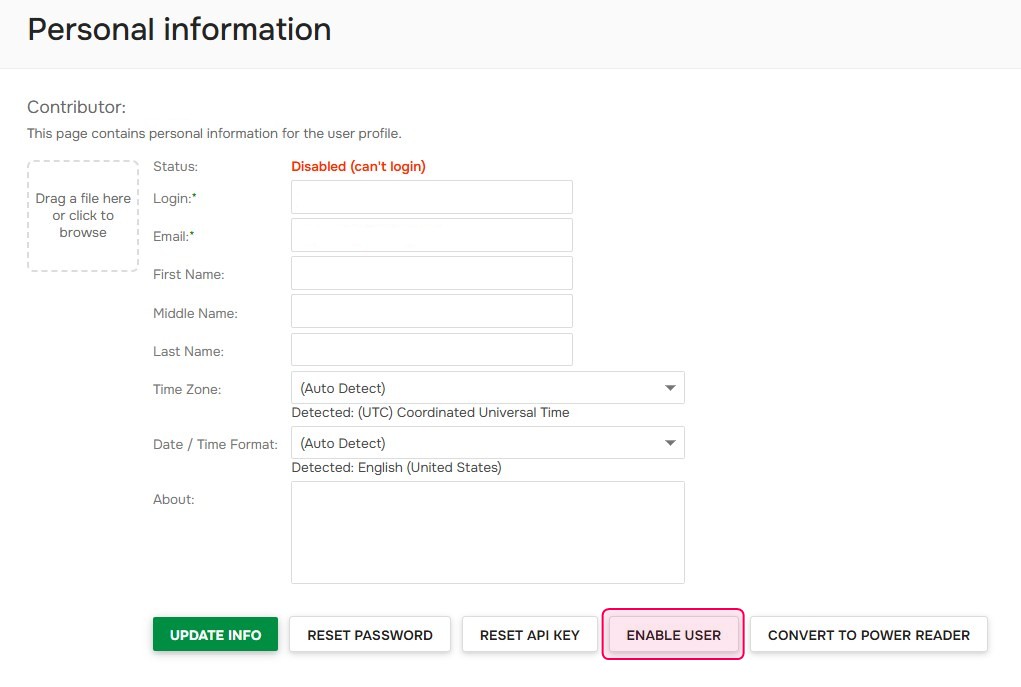
Handling Account Lockout
After 5 failed authentication attempts, the user account will be locked.
Admins can manually unlock accounts as needed by going into the Contributor's profile and clicking Enable user. After that, they can optionally disable 2FA for the user in their 2FA settings.
| You can configure the number of allowed attempts before lockout in Settings → Security → Two-factor authentication. |