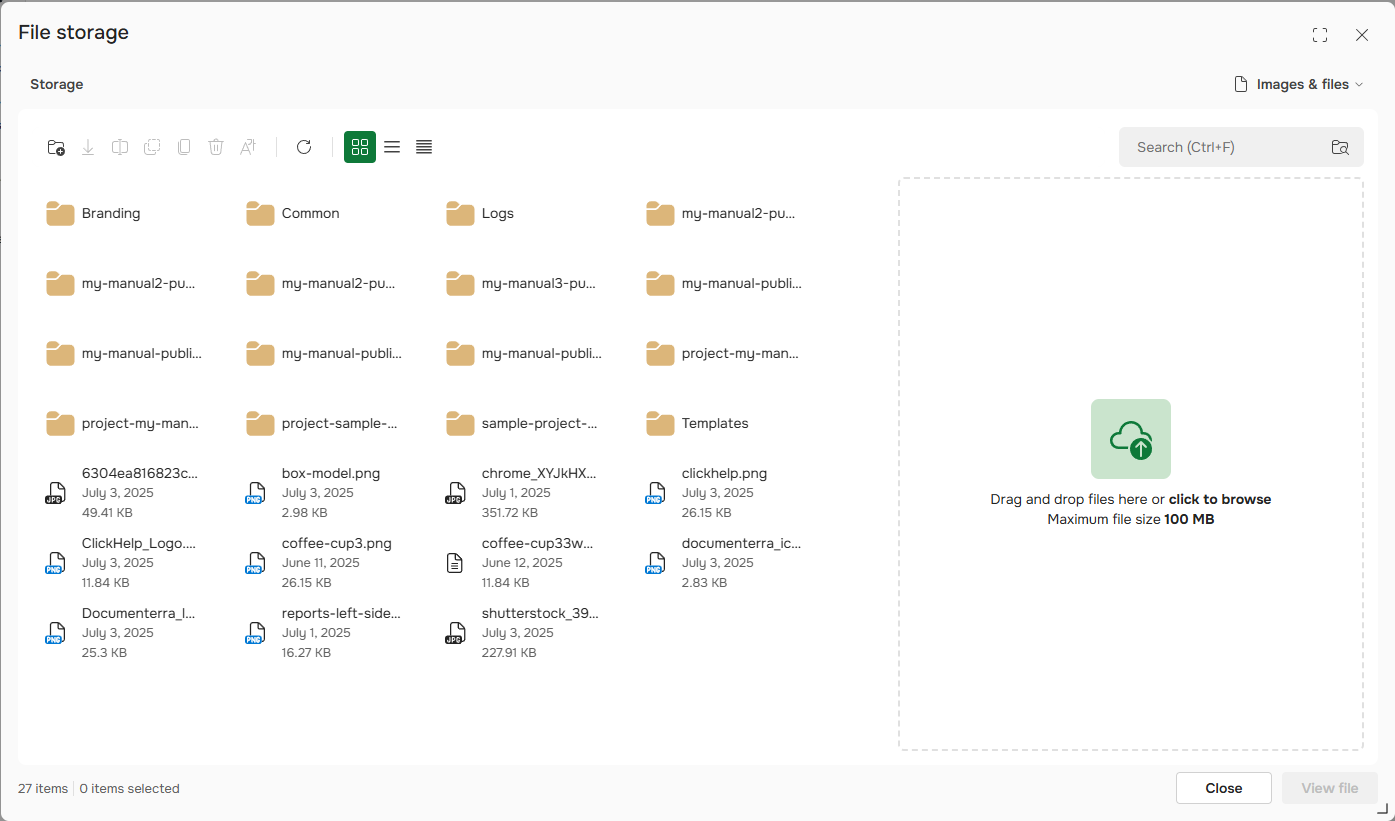
For your convenience, all the project files are located in one place — the ClickHelp File Storage.
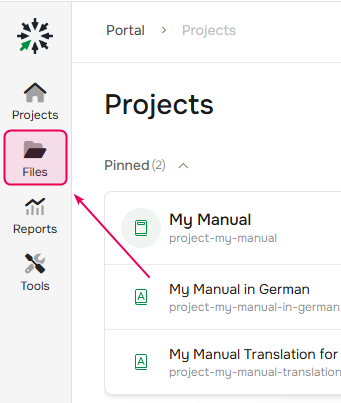
To open it, click the
Files button on the left sidebar.
In the File storage you can find images, logs, and other files connected with your projects and publications. Folder names correspond to project and publication IDs.
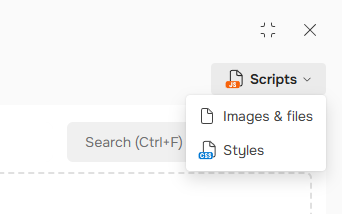
To work with style and script files, select the corresponding option in the top-right corner dropdown.
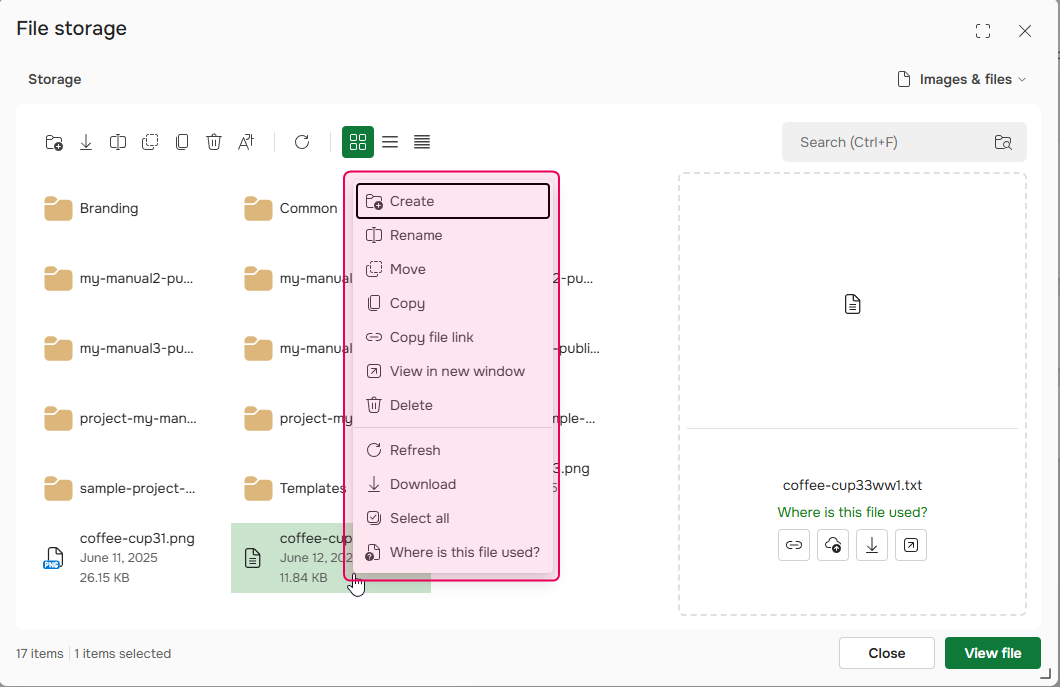
You can manage all the files in the Storage. If you right-click an item, you'll see the following menu where you can perform actions with the file. For example, Rename your file, Move, Copy, Delete, Refresh (the whole file list will be refreshed), and others:
You can also add new files to your File Storage from your computer by clicking Browse first, choosing the needed file, and clicking Open. Alternatively, you can drag & drop files right next to the file list area. The uploaded files will be added to the Storage folder currently opened in the File Manager window.
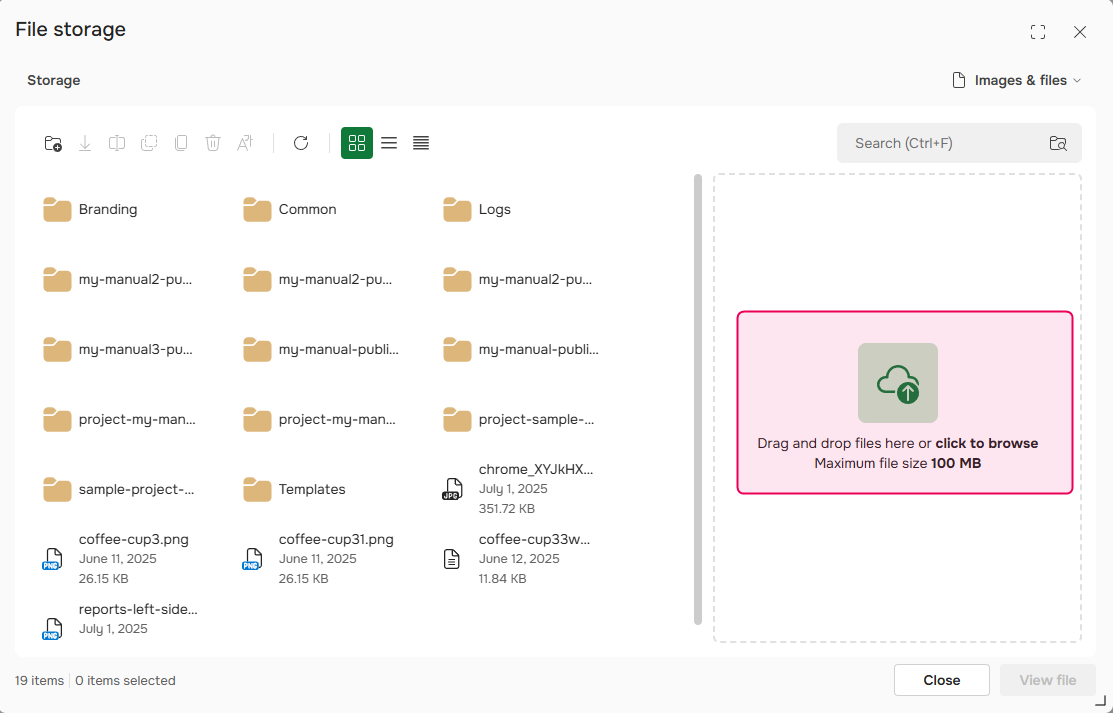
| The maximum file size that you can upload is 1 GB. |
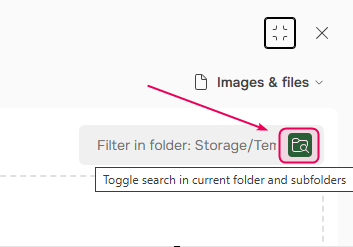
To find the needed file, you can use Search (also accessible using the Ctrl + F shortcut). The search is performed in the current folder and subfolders. You can also filter files in the current folder. To switch between searching and filtering, use the Filter mode toggle:
That is how you can quickly manage your project files and images in ClickHelp.
Learn more on project management: