Quick Parts are small content extracts that you can insert into your content. They streamline routine tasks by allowing you to quickly insert frequently used pieces of content throughout your documentation. You can create a Quick Part from any piece of your content, including Variables, Snippets, Conditional Blocks, and many more.
To quickly jump to a certain section of this topic, use the following links:
- Create a Quick Part
- Create from Topic Editor
- Create from Portal Settings
- Insert a Quick Part
- Edit a Quick Part
- Delete a Quick Part
- API Docs Quick Parts
- Quick Parts FAQ
By default, there are more than ten Quick Parts available in ClickHelp, including Info Box, Warning Box, Show More element, and API quick parts.
Unlike Snippets, Quick Parts are inserted directly into the topic content. Once inserted, they become part of the topic and can be modified in place. It's similar to pasting content from the clipboard.
| Quick Parts are shared on a portal scale, which means every user has the same Quick Parts list. There are no project-specific or user-specific Quick Parts. |
Create a Quick Part
You can create a new Quick Part using either of the following methods.
Create from Topic Editor
-
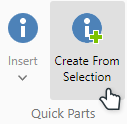
Select the content in your topic you want to create a Quick Part from.
If you want to create a Quick Part from custom HTML, read the instruction below. -
Select the Insert tab on the ribbon and click the Create From Selection button in the Quick Parts group. Alternatively, hit Ctrl+Q (Command-Q on MacOS)
-
The Create Quick Part dialog will appear.

- You will need to specify the name of the Quick Part. If you specify (or select from the list) the name of an already existing Quick Part, then the existing Quick Part will be overwritten with the new one.
- You can click the Show Quick Part source link to see the HTML of the Quick Part. You can also edit it if you need to change something on the fly or clean up the markup.
- Click OK.
Create from Portal Settings
You can also manage and create Quick Parts centrally:
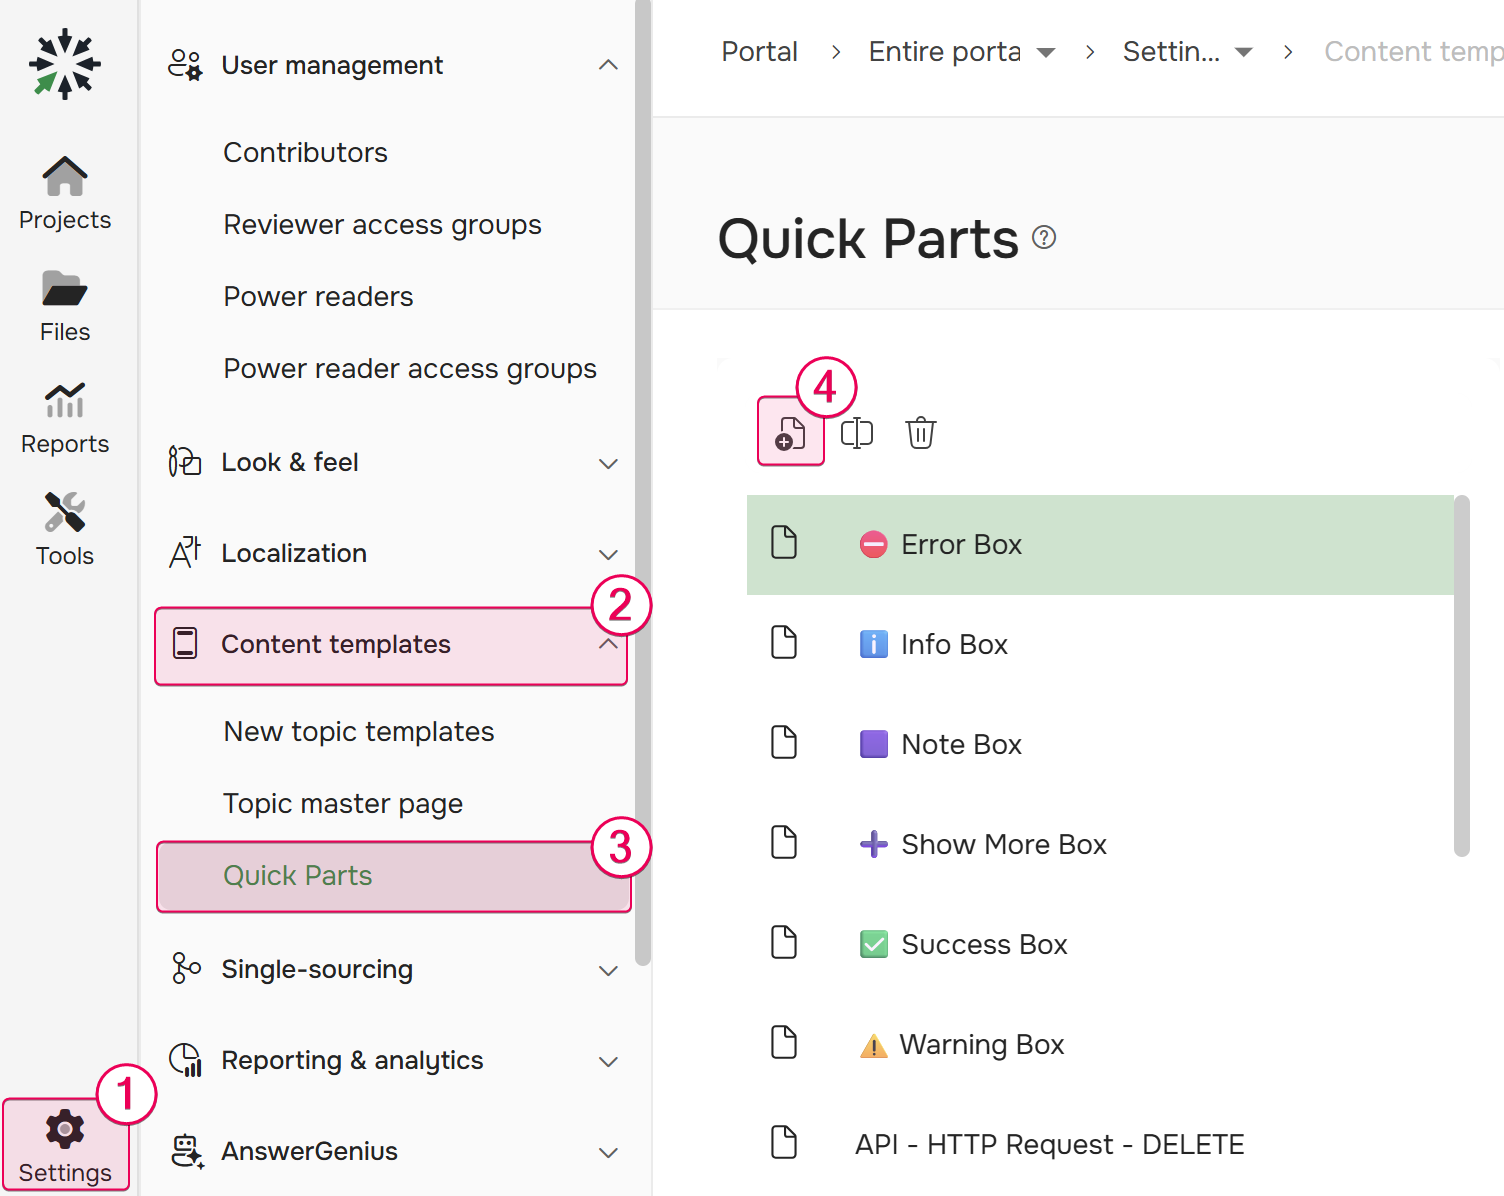
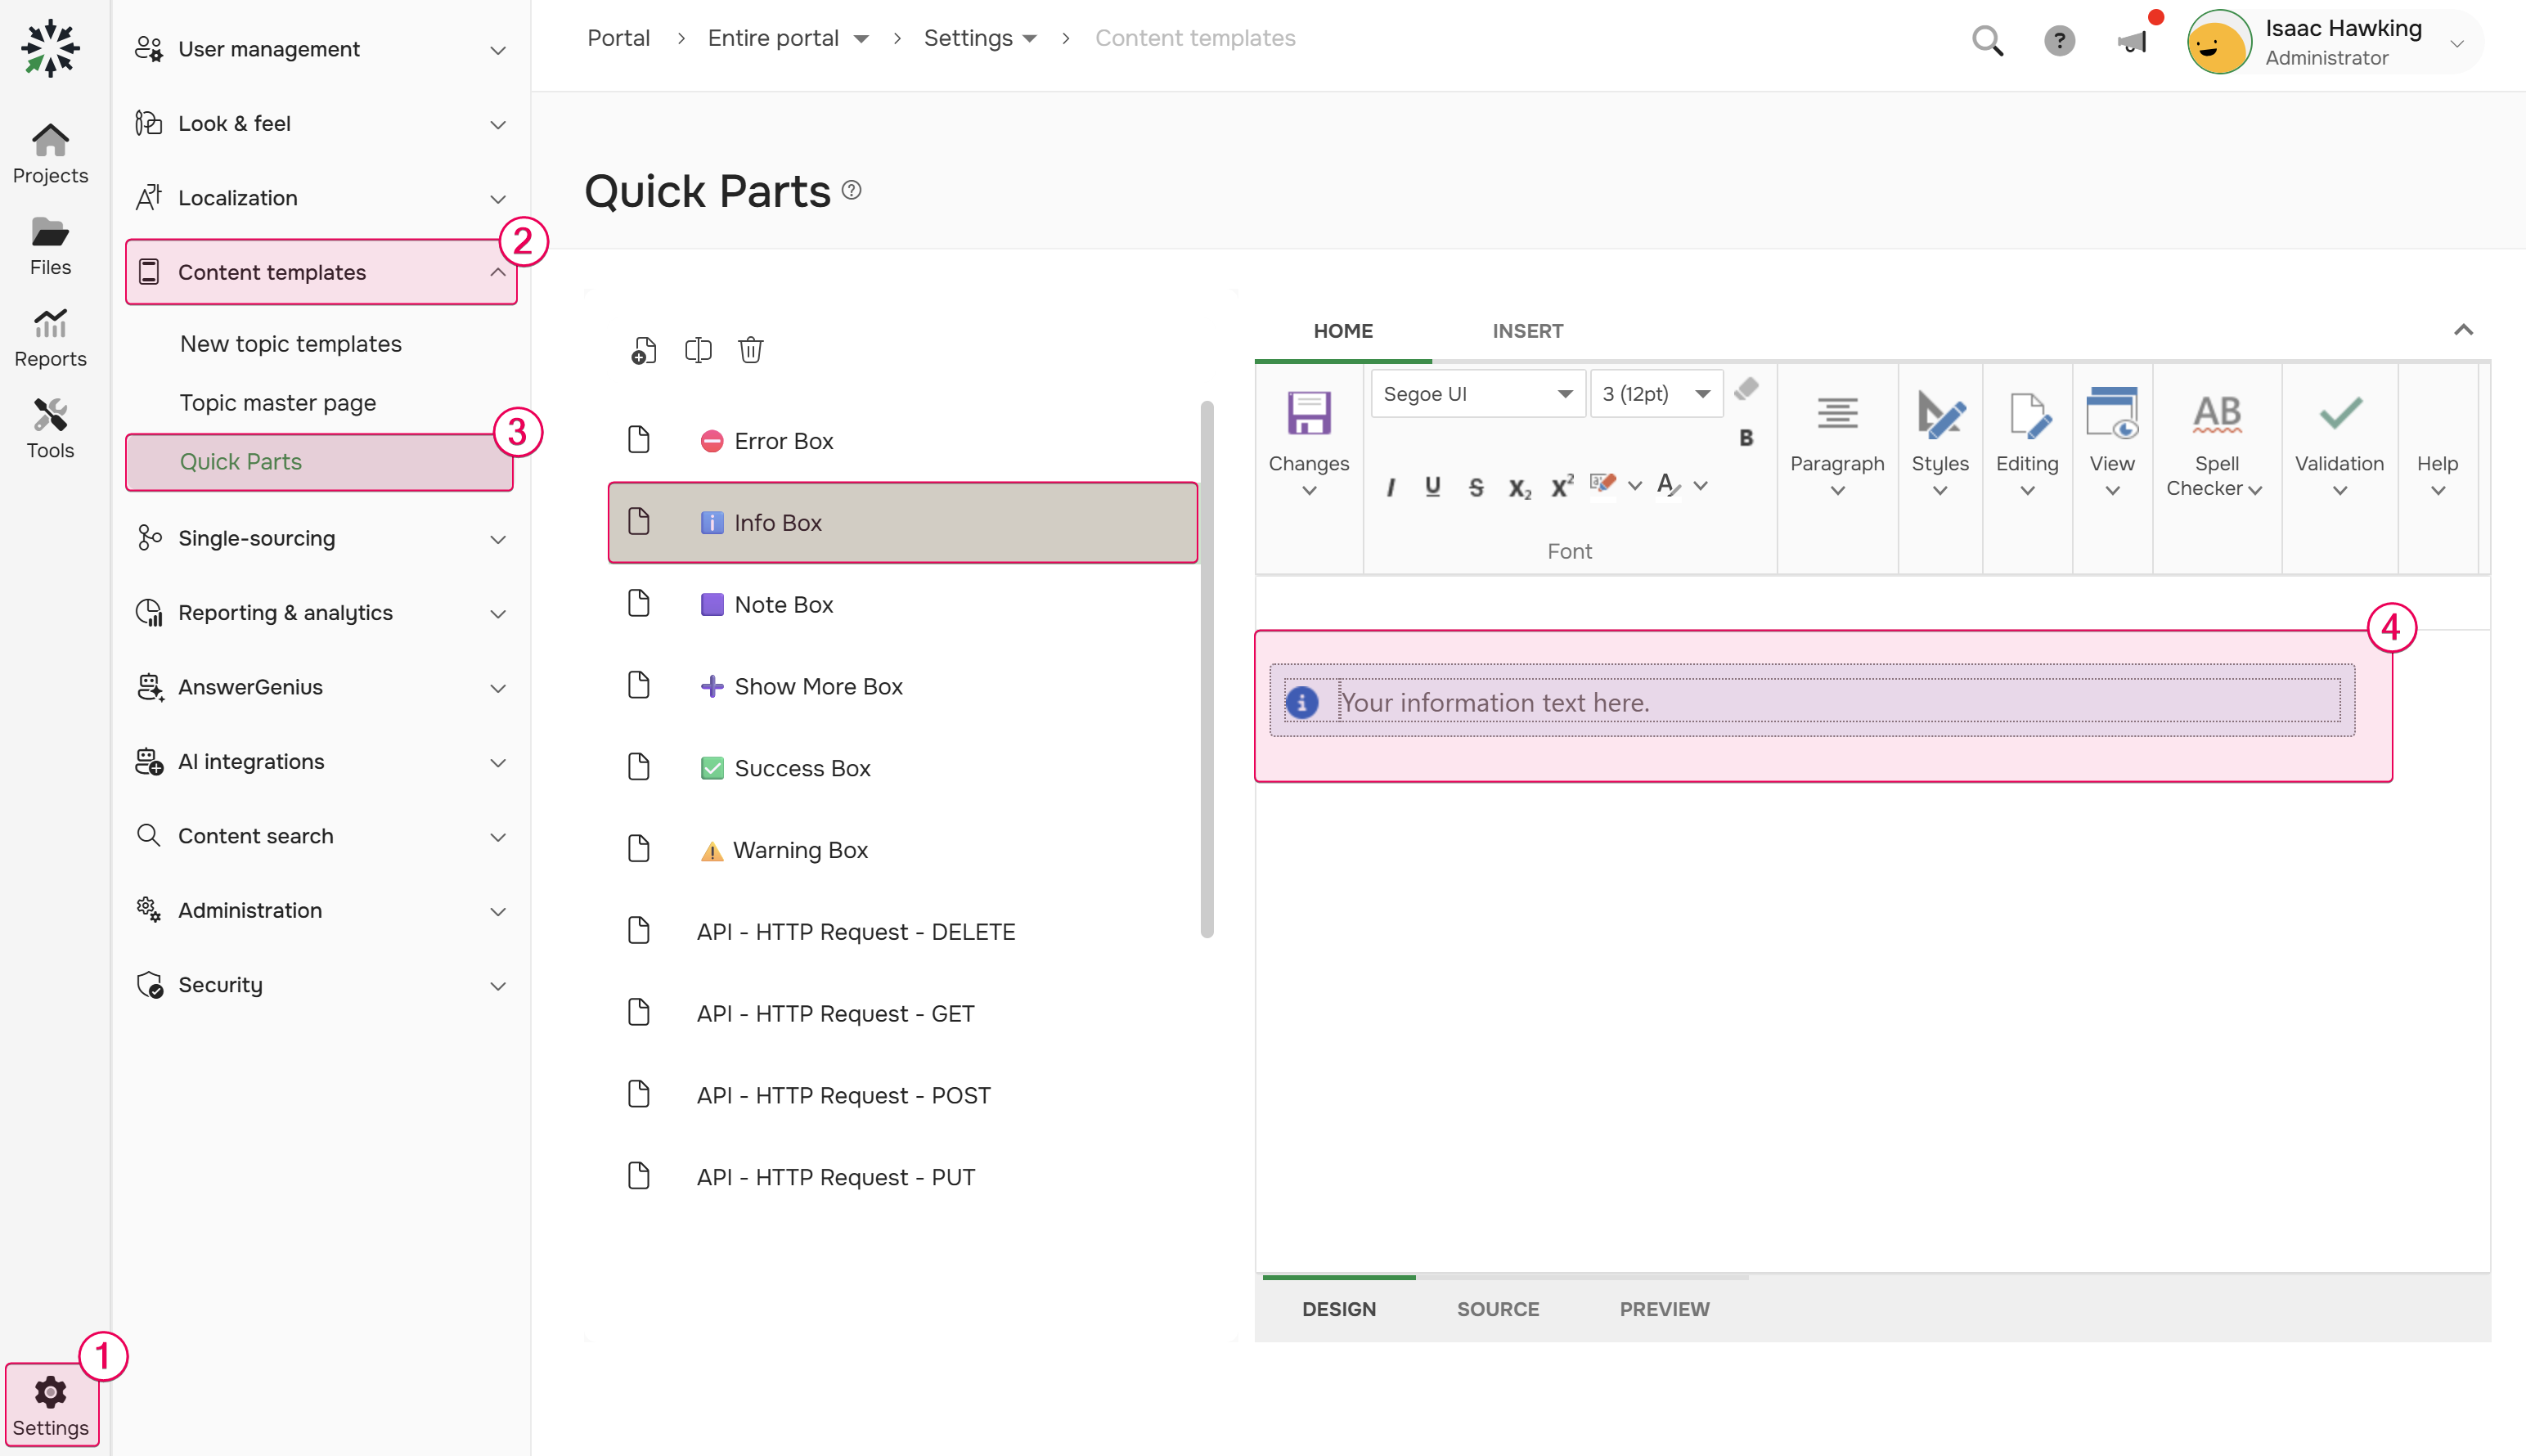
- Navigate to Settings → Content templates → Quick parts.
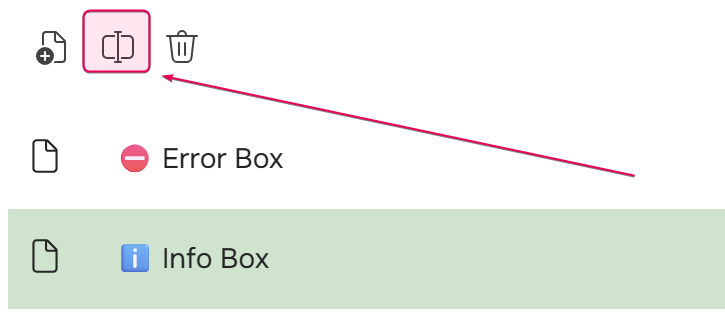
-
Click the Create new file button.
-
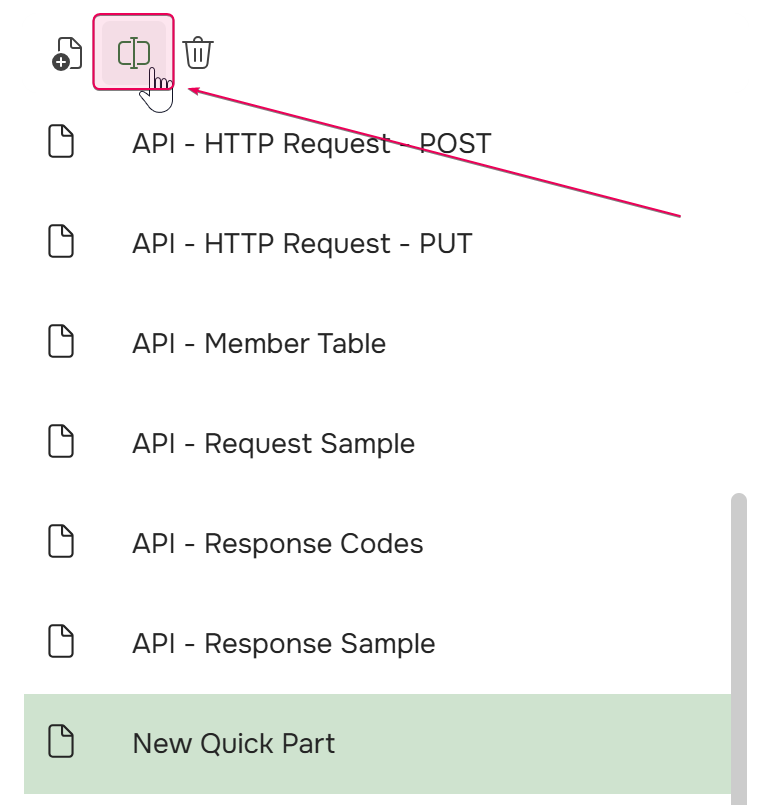
A New Quick part entry will appear in your list. Select it and click Rename to give it a descriptive title.
-
Use the editor on the right side of the screen to build your new Quick Part.
| The Quick Parts editor uses a Style.css file from the Blank project template. This file can be found in the File Storage at the following path: resources/Styles/Templates/blank-template/Style.css. If your project has custom styles, these will be applied to the Quick Part when it is inserted. As a result, the Quick Part may look different in your project compared to how it appears in the Quick Parts editor. |
Insert a Quick Part
The process of inserting a Quick Part is pretty straightforward:
- Switch to the Insert tab of the ribbon and click the Insert button of the Quick Parts group.
- Click on the necessary Quick Part from the list.
The Quick Part will be inserted at the location of your text cursor.
Edit a Quick Part
Existing Quick Parts can be modified through the portal settings:
- Go to Settings → Content templates → Quick parts.
- Select the Quick Part you want to edit from the list.
-
Make your changes using the editor on the right side of the page.
- Save your changes.
To rename a Quick Part, select it from the list and click the Rename button.
Delete a Quick Part
Any user of the Contributor user type except Reviewers can delete a Quick Part.
| If you delete a Quick Part, it will be deleted for everyone in your portal. |
- Hover over the specific Quick Part in the Insert Quick Part popup
-
Click the delete button (trash can icon).

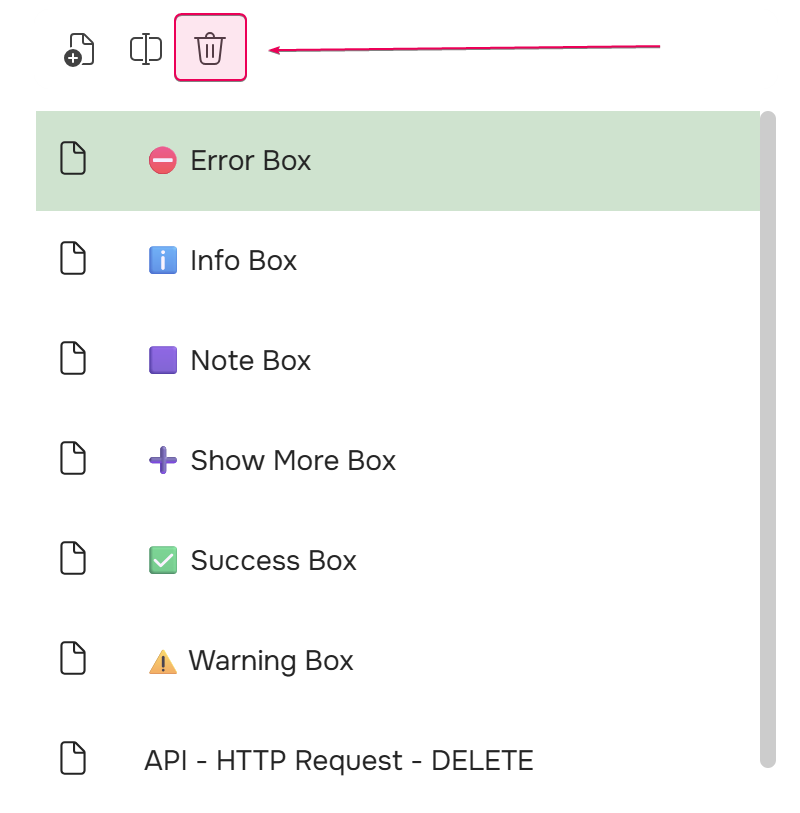
You can also delete a Quick Part from portal Settings. To do so, navigate to Settings → Content templates → Quick parts, then select the Quick Part you want to delete and click the Delete button.
API Docs Quick Parts
ClickHelp provides several typical elements popular in API docs out of the box. Aside from being available in the Quick Parts insert menu, API-related Quick Parts are also available on a separate tab on the ribbon:
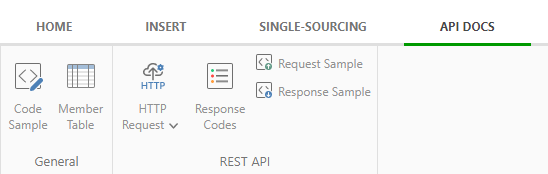
This is a great starting point that you can use to jumpstart your API docs writing process. You can use these building blocks to quickly assemble typical API documentation topics. For example, Member Table can be used for describing both request parameters and response fields.
| If you delete an API Docs Quick Part from the Insert Quick Part menu, you won't be able to insert it by clicking the corresponding button on the API Docs tab of the Ribbon bar. You will need to create a Quick Part with the corresponding name to restore the ribbon buttons' functionality. |
Quick Parts FAQ
Can I customize API docs quick parts?
Yes. Since these elements are Quick Parts, you can customize them both in terms of layout and style. To learn how to modify Quick Parts, refer to the corresponding section above.
| To change the look & feel of API Docs Quick Parts, look for the corresponding CSS rules added automatically with the portal upgrade to your projects style files under the section titled /* API Docs Elements - begin */. |
Can I create new API docs quick parts?
Yes. Just like with any other Quick Parts, you can add API docs Quick Parts in the same manner. To learn how to do this, refer to the corresponding section above.
| When you create custom API Docs Quick Parts that are not provided out of the box, they will not appear as buttons on the ribbon in the API Docs tab. |
How are quick parts different from snippets?
While the difference between Quick Parts and Content Snippets may not be obvious at the first glance andthey may seem similar, they are very different in their nature.
| Quick Parts | Snippets |
|---|---|
| Quick Part's markup becomes a part of the topic markup on insertion | Snippet's markup becomes a part of the topic markup on publish |
| Stored in your portal data, outside of topics | Need to exist as individual topics |
| Can be edited upon insertion | Can not be edited in the topic they are inserted in |
| If one of the inserted Quick Parts is edited in a topic, the changes are made only to the edited instance | When an original Snippet is edited, the changes are reflected in every inserted instance of this Snippet in all Projects |
I have accidentally deleted a quick part, what do I do?
You can always create a new one following the instructions above. You can find some of the default Quick Parts HTML in our Knowledge Base.
How do I create a quick part from custom HTML?
- Select anything in the topic to activate the Create From Selection button.
- Click Create From Selection.
-
In the popup, click Show quick part source link.

- Replace the source with your custom HTML.
- Do not forget to specify Quick Part's name and hit OK.