ClickHelp supports the OpenID Connect technology of single sign-on. Single sign-on (SSO) is an authentication method that simplifies access, enhances security, and improves user experience. To learn more about this technology, refer to this web resource: http://openid.net/connect/
Contributors or Power Readers can authenticate in your documentation portal through a third-party authentication service: your own endpoint that implements an OpenID Connect Identity Provider or one of the supported endpoints available on the Internet.
- Licensing
- Adding a SSO Provider
- Setting the Default Login Method
- Configuring Multiple Identity Providers
- Login with the idp Parameter
Licensing
To use the SSO authentication you need to have the Single Sign-On add-on.
Adding a SSO Provider
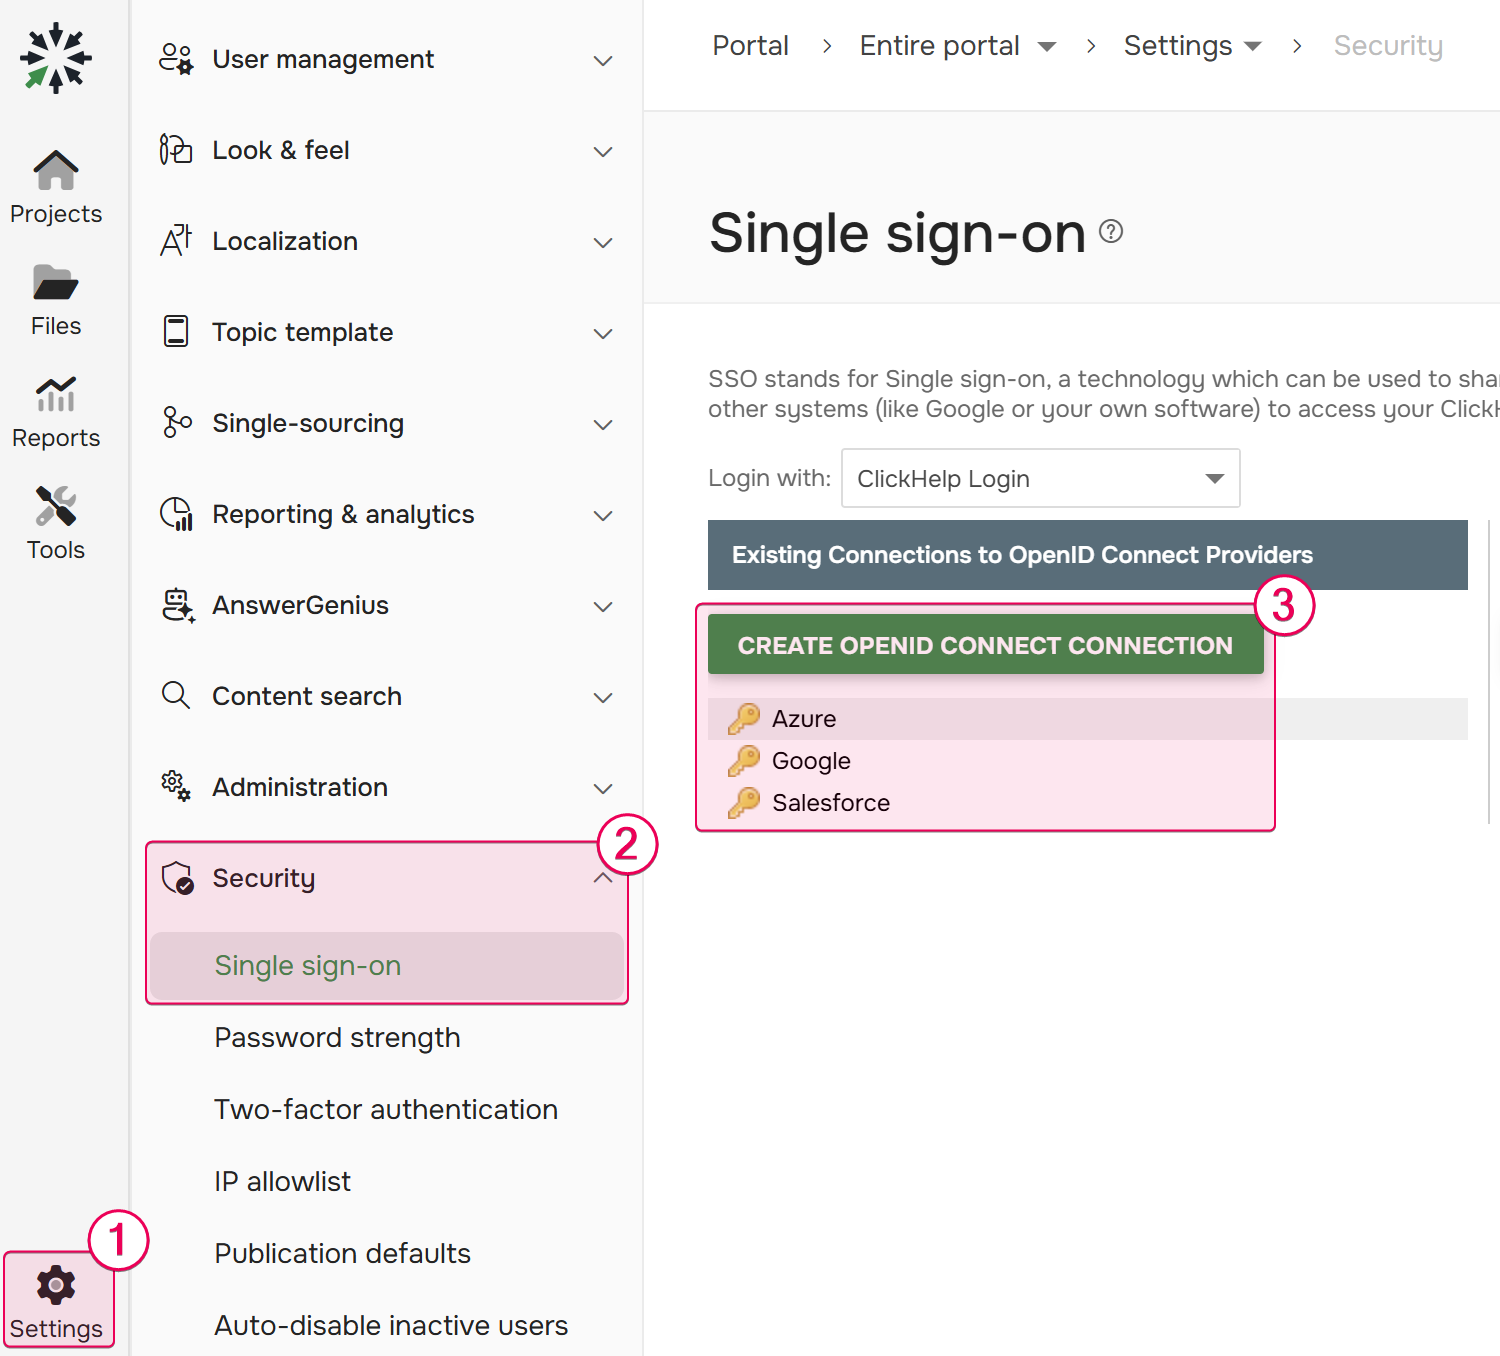
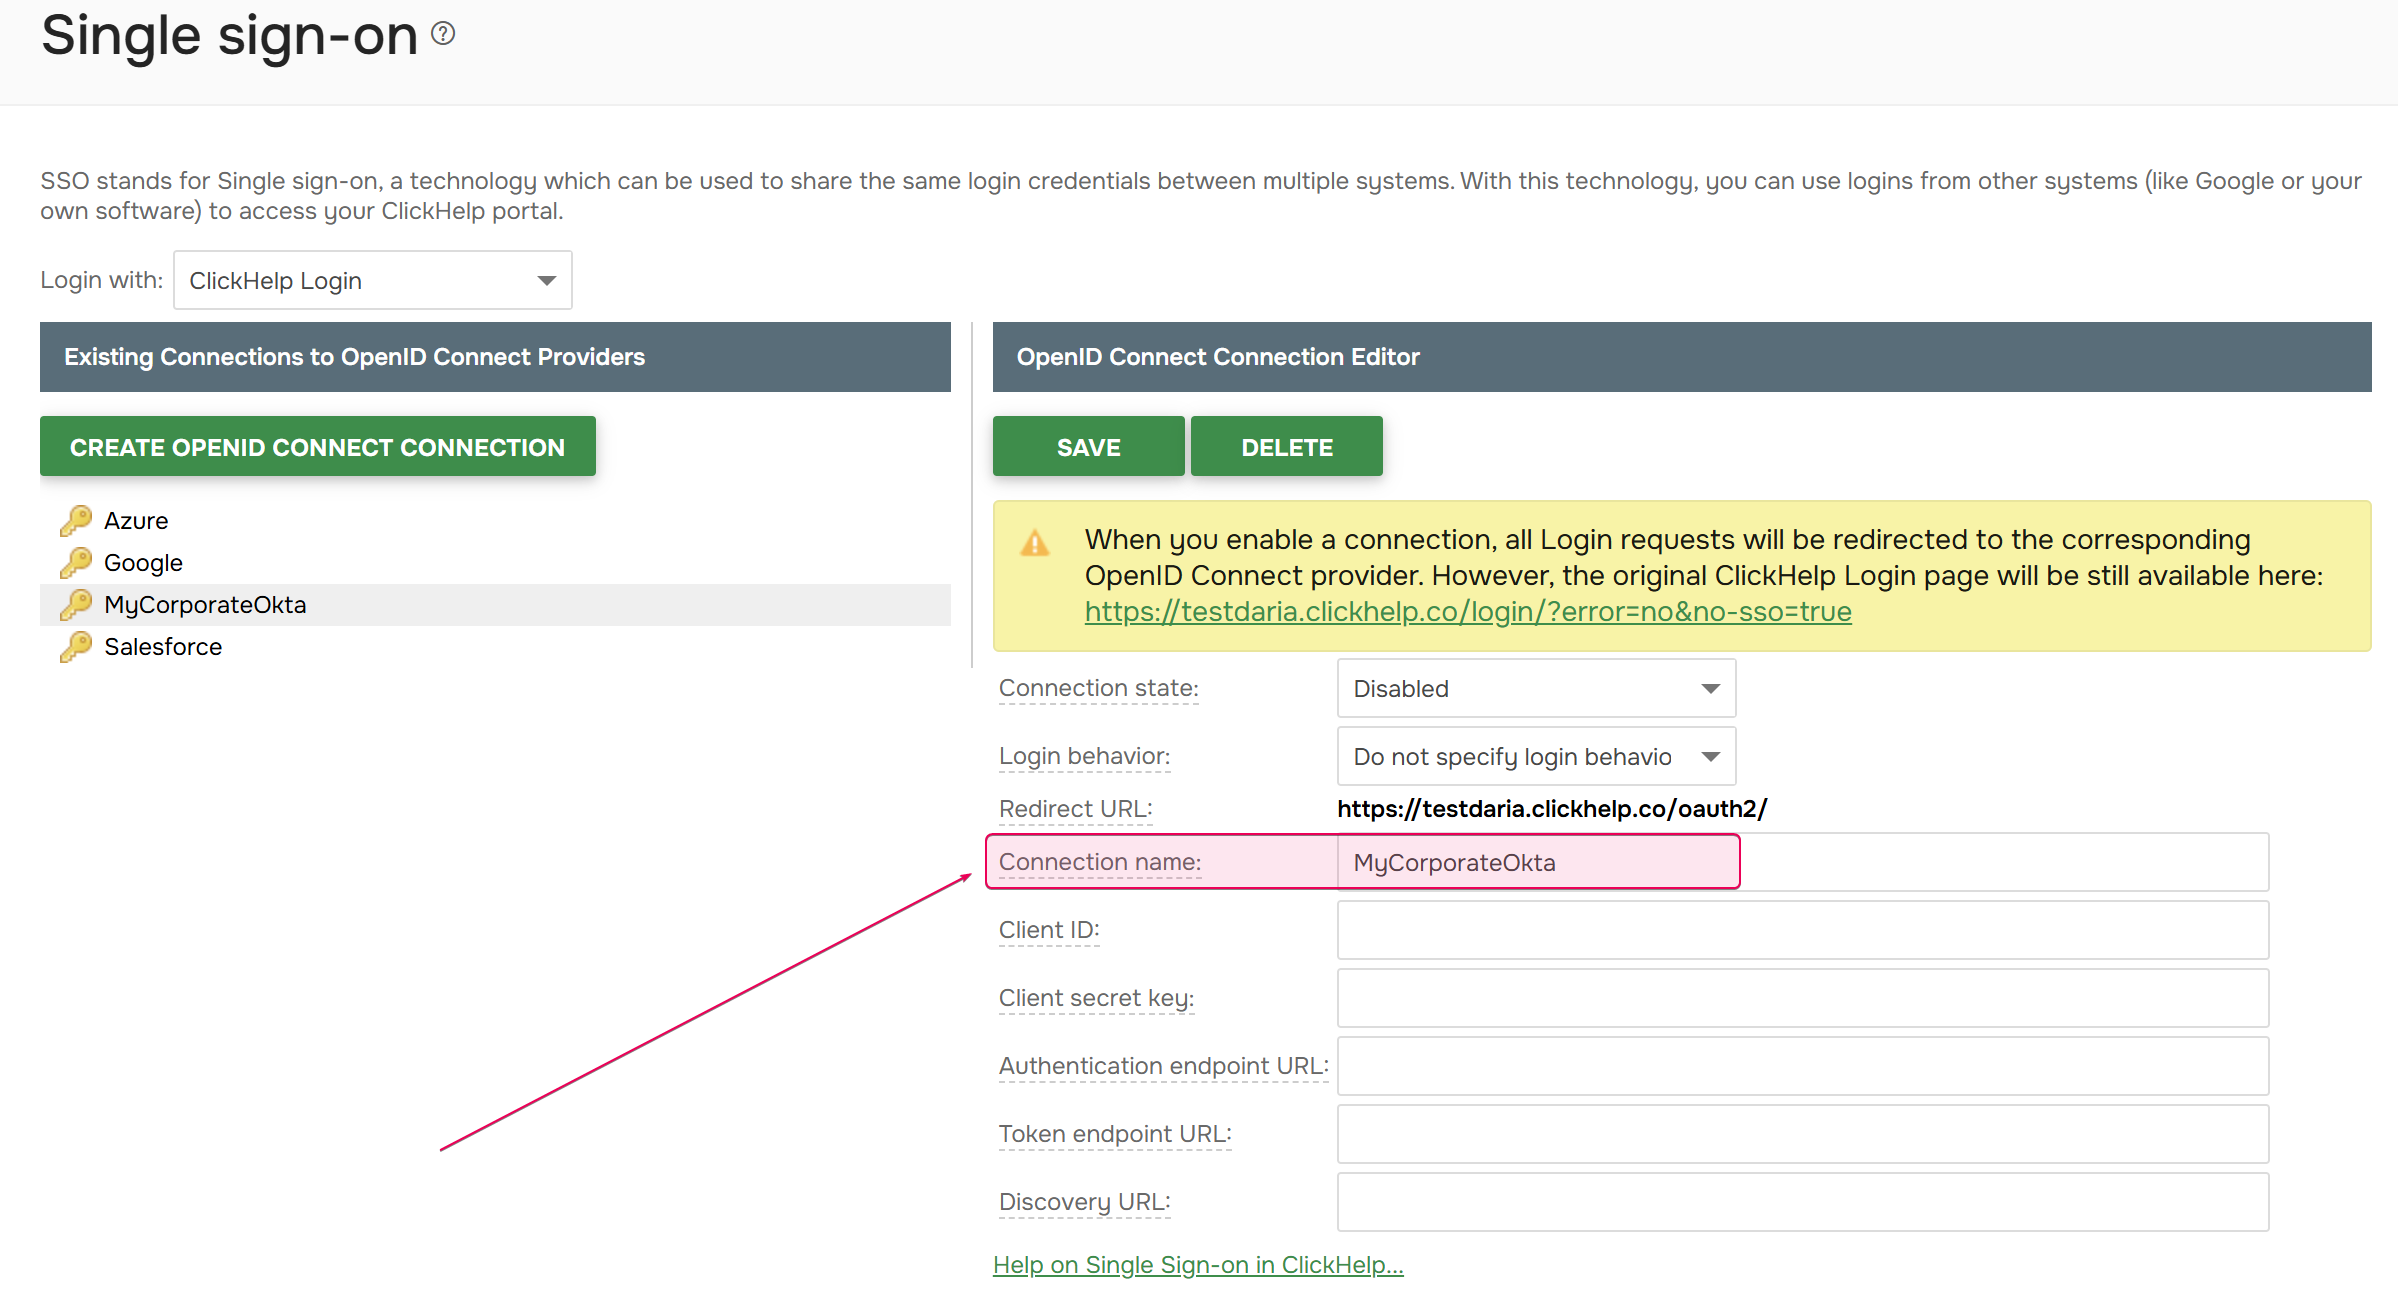
To enable SSO for your portal, you first need to add and configure an identity provider. All SSO settings are located in Settings → Security → Single sign-on. From this page, you can add connections for popular providers such as Google, Microsoft Entra ID (Azure), Salesforce, or a custom Identity Provider.
Setting the Default Login Method
In the SSO settings, you can specify the default login behavior for your portal. This setting determines what users see when they navigate to your main login page:
-
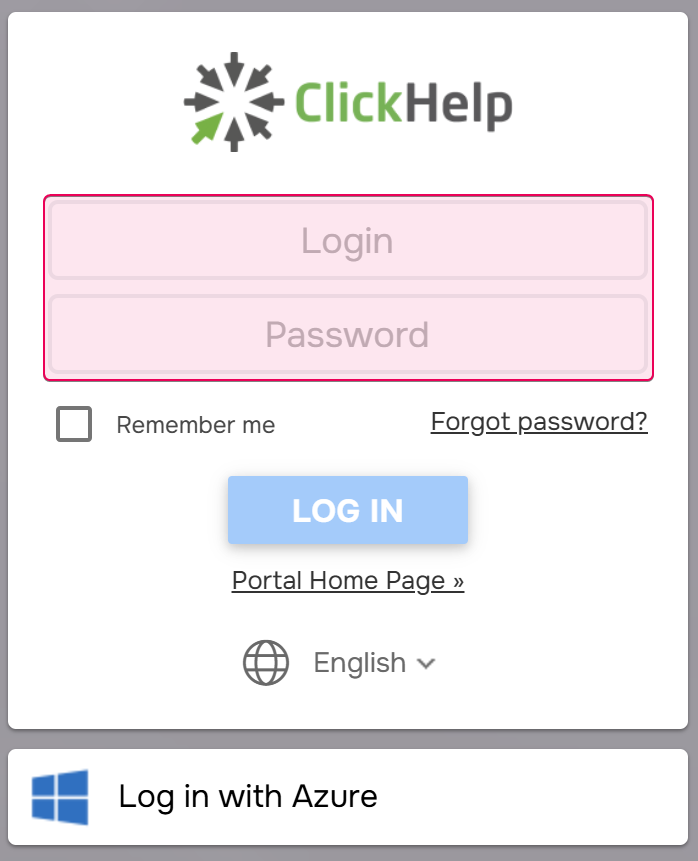
ClickHelp Login: The default view will be the standard ClickHelp login form with login and password fields.
-
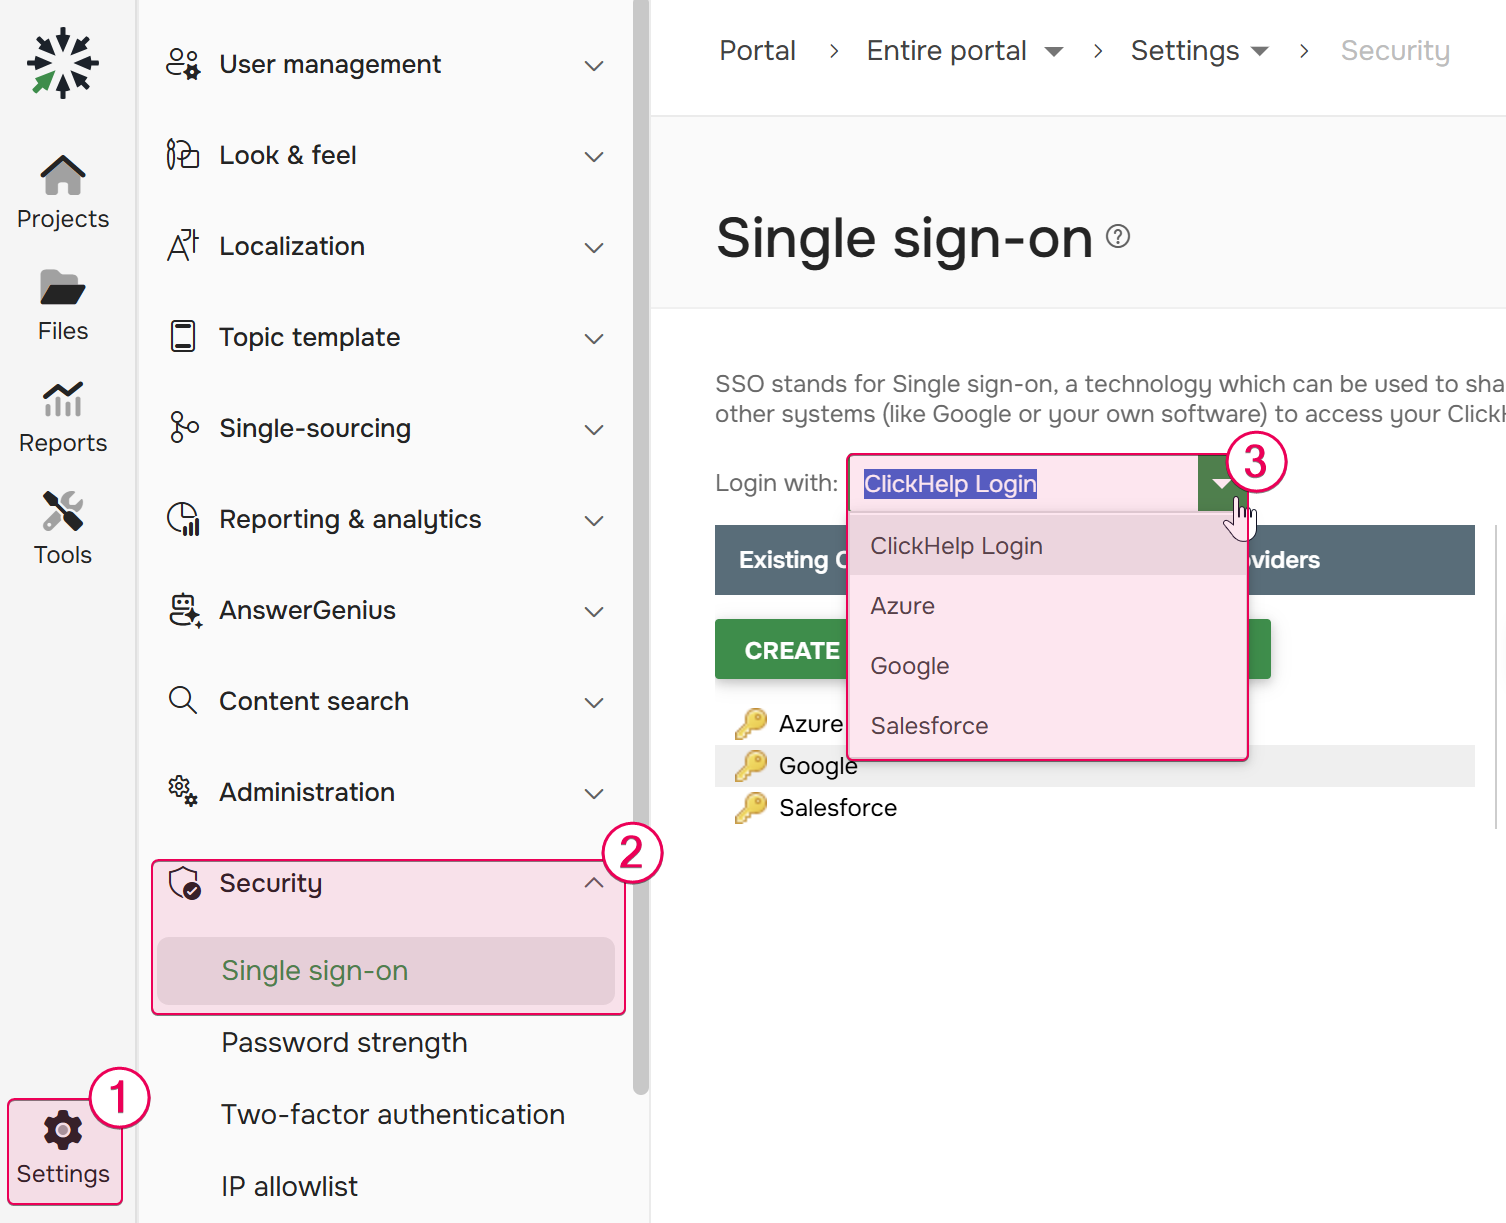
Specific SSO Provider: You can set one of your configured SSO providers as the default by navigating to Settings → Security → Single sign-on and making a selection under the Login with dropdown.
Configuring Multiple Identity Providers
ClickHelp gives you the flexibility to connect and manage multiple SSO providers simultaneously. This is particularly useful for organizations that need to grant access to different user groups, such as employees and external users, all within a single documentation portal.
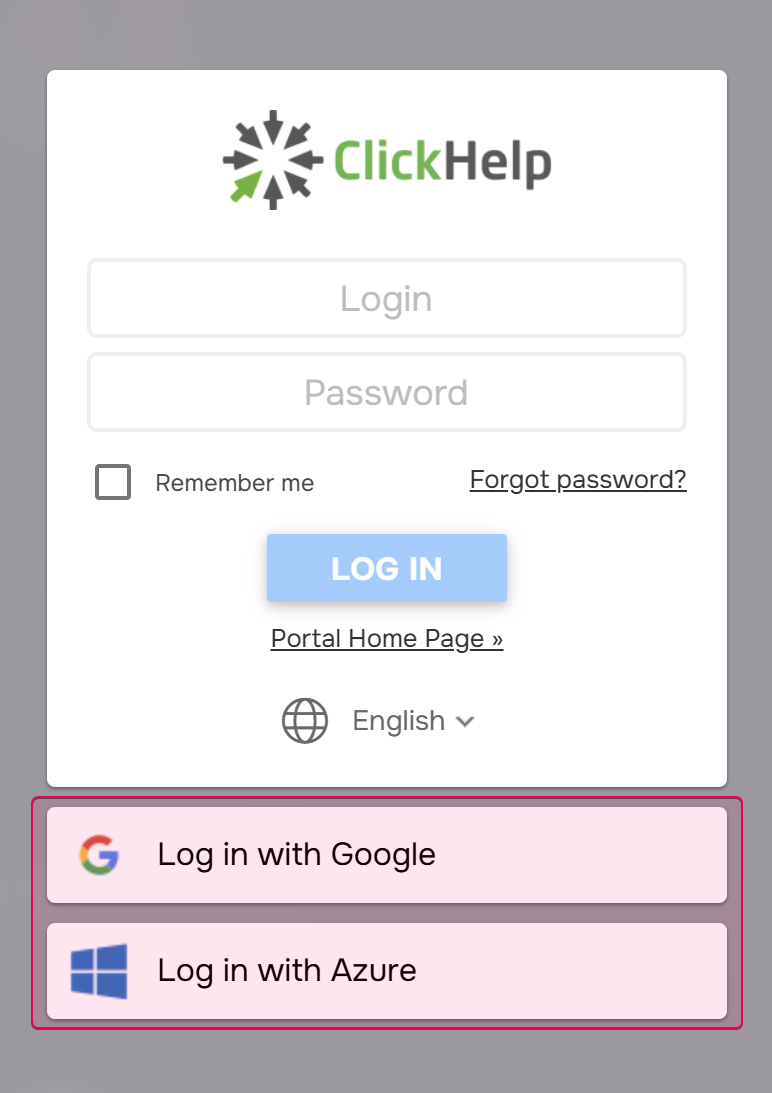
You can configure each provider individually in the ClickHelp portal settings. Once configured, all active providers will be available as options on your portal's login page, allowing users to choose the appropriate method for their authentication.
Login with the idp Parameter
To create an even more seamless authentication experience, ClickHelp supports a special idp parameter in the URL. This feature allows you to bypass the login page entirely and redirect users directly to a specific identity provider's authentication flow.
You can append the idp parameter to any restricted page URL (i.e., any page that requires login) or directly to the login page URL. The value should match the name of the provider you want to use. For example: https://portal.clickhelp.co/login?idp=MyCorporateOkta . You can find the correct provider name in the Connection name field inside the OpenID Connect Connection Editor.
The idp parameter takes precedence over the default login method configured in the Login with setting. For example, if you have set Google as the default provider under Settings → Security → Single sign-on, but a user accesses the portal with a URL containing ?idp=MyCorporateOkta, they will be redirected to the Okta authentication flow instead. This priority ensures that you can provide direct links to specific identity providers for different user groups, overriding the default behavior when necessary.
By leveraging these features (multiple providers, a configurable default method, and the direct idp parameter) you can tailor the login experience precisely to your organization's needs and user workflows.
To learn more about configuring each SSO providers, refer to the following topics:
- SSO User Matching
- Use Google as SSO Provider
- Use Microsoft Entra ID as SSO Provider
- Use Salesforce as SSO Provider
- Use a Custom Identity Provider